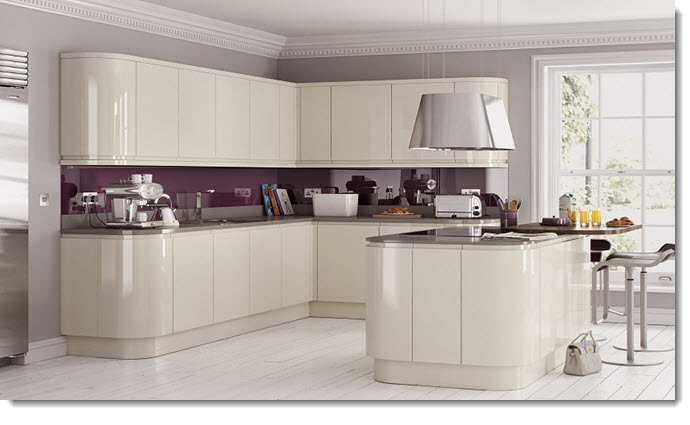
Cleaning Kitchen Cabinets
 Your kitchen is neat and well organized. The sink is clean and the countertops uncluttered. All looks good except for your kitchen cabinets. They look dull. They have lost the clean look and therefore do not match the rest of the kitchen in terms of the standard you want to reach. The cabinets close to the cooking area even feel grimy to the touch.
The oils and fats used while cooking, over time, slowly coat the surfaces in your kitchen to make them look grimy. When wood cabinets become covered with this oily grime they look dull with a brown or yellow film that’s sticky to the touch. This grimy coating can be very difficult to remove.
The greasy buildup is sticky all by itself, but when it remains glued in place, and when it’s allowed to layer up over time, dust, lint and other more substantial dirt can mix in to create a thick, gooey coating that attracts more and more grime. It’ll never wipe off, and due to the delicate surface underneath, you’ll need to avoid harsh chemicals or abrasive tools when trying to remove it.
Your kitchen cabinets are one of the most expensive investments inside our homes, so it pays to take care of them. Getting rid of the grease and grime isn’t just for looks: if not removed, all that greasy grimy dirt may actually permanently soften and discolor the finish!
Here is a very nice way to clean the surfaces of your kitchen cabinets and bring them up to the standard of clean that has been reached for the rest of your kitchen. How do you clean grimy kitchen cabinets?
Kitchen Cabinet Cleaning
This combination of cleaning ingredients may surprise some. It may seem counterintuitive to others. Some may just smile as they have discovered that this works. The cleaning involves cleaning greasy kitchen oil and grime with oil! As contradictory and surprising as that sounds, it really works!
This combination of cleaning ingredients for kitchen cabinets not only works it works like a charm.
The greasy grimy layer builds up slowly . . . ever so slowly so that you do not really notice. However, once you do notice you will want to clean up the surfaces quickly with a method that works but that is not too harsh.
Here is the way to do it.
Ingredients:
1 part coconut oil
2 parts baking soda
Directions:
Mix 1 part coconut oil with 2 parts baking soda in a small bowl.
Apply the mixture to your cabinets with a cloth or sponge, or as I like to do, use your hands. I think it’s easier to work it into all the nooks and crannies this way.
For the grooves that are harder to reach with my fingers, I like to use an old toothbrush.
It is to see all the dirt and grime that came off with the simple 2-ingredient kitchen cabinet cleaning combination.
After the cleaner has time to work, take your dry cloth again, and wipe the surface clean. This time, those last few stubborn spots will wipe clean, and there will be absolutely no haze or discoloration left. The surface will no longer be sticky to the touch or dull to look at, and the natural beauty of the surface will be fully displayed again.
Final Notes
 If any of your cabinets have picked up a nick or a scratch, this is a good time to reach for a Minwax® Wood Finish™ Stain Marker to touch them up.
To add some lasting extra protection to your kitchen cabinets you may also want to wide on a protective layer. A coat of Minwax® Wipe-On Poly can really make your kitchen cabinets shine and provides protection too. This product creates a durable clear finish.
Give us a call at 802-295-6065 if you live in the Upper Valley and need extra support for keeping your home clean and tidy. We have been providing homeowners of the Upper Valley with top-notch home cleaning services since 1993.

